How to Grow Microgreens Indoors with a Shelf
Share
Growing microgreens indoors is one of the simplest and most rewarding ways to bring fresh nutrition into your home year-round. Packed with vitamins, minerals, and antioxidants, microgreens are often called "living superfoods." They are tender, flavorful, and can be harvested in as little as 7–14 days, making them an excellent choice for beginners and experienced indoor gardeners alike.
With the right setup, especially when using a dedicated shelf system like the amoyls VerdantGlow S-Shaped 8-Tier Plant Shelf with Grow Lights, you can grow abundant microgreens indoors without worrying about seasonal limitations, outdoor space, or unpredictable weather. This guide will walk you step-by-step through everything you need to know—from choosing seeds and soil to optimizing light, watering, and harvesting—so you can enjoy a constant supply of nutrient-rich greens straight from your own indoor garden.
Why Microgreens Are Perfect for Indoor Growing
Microgreens are small but mighty plants, harvested when they are just 2–3 inches tall. At this stage, their nutrient density is much higher than their fully grown counterparts. For example, broccoli microgreens may contain up to 40 times more vitamins C and E compared to mature broccoli.
Indoor shelves with grow lights make them even more accessible because:
- Small space requirements: You don’t need a garden, patio, or even a balcony—just a shelf with trays.
- Fast growth: Most microgreens are ready to harvest within 7–14 days.
- Year-round harvest: With artificial lighting, temperature, and humidity control, microgreens grow consistently regardless of the season.
- Variety: You can grow dozens of different types, from spicy radish microgreens to sweet pea shoots, all in the same shelf unit.
Setting Up Your Indoor Microgreens Shelf
The right growing environment is essential for producing healthy, flavorful microgreens. A shelf system like the amoyls VerdantGlow S-Shaped 8-Tier Plant Shelf with Grow Lights is ideal because it combines vertical growing efficiency with full-spectrum lighting, ensuring that each tier receives equal light coverage.
1. Choose the Right Shelf
A dedicated plant shelf with integrated grow lights is far superior to a regular bookshelf or storage rack. The VerdantGlow shelf provides:
- Space efficiency: Eight tiers allow you to grow multiple trays simultaneously.
- Built-in grow lights: Full-spectrum LEDs that mimic natural sunlight.
- Stylish design: Modern S-shaped frame that enhances home décor.
- Durability: Sturdy structure to support trays, water, and soil weight.
2. Gather Supplies
You’ll need the following items:
- Seed trays (10x20 inches are standard for microgreens).
- High-quality potting mix or coconut coir.
- Microgreen seeds (radish, broccoli, arugula, sunflower, peas, etc.).
- Spray bottle or fine mist watering can.
- A shelf with grow lights (such as VerdantGlow).
Step-by-Step Guide to Growing Microgreens Indoors
Step 1: Select and Prepare Seeds
Microgreen seeds are specifically bred for dense, fast-growing crops. Popular options include:
- Radish: Spicy, crunchy, and quick-growing.
- Broccoli: Mild flavor, packed with sulforaphane.
- Sunflower: Nutty, crunchy texture, high in protein.
- Peas: Sweet and tender, rich in vitamins A and C.
- Arugula: Peppery flavor, great for salads.
Before planting, rinse your seeds with clean water to remove dust or debris.
Step 2: Prepare the Growing Medium
Fill trays with 1–1.5 inches of potting mix or coconut coir. Smooth the surface and lightly press down. Moisten the soil evenly but avoid soaking.
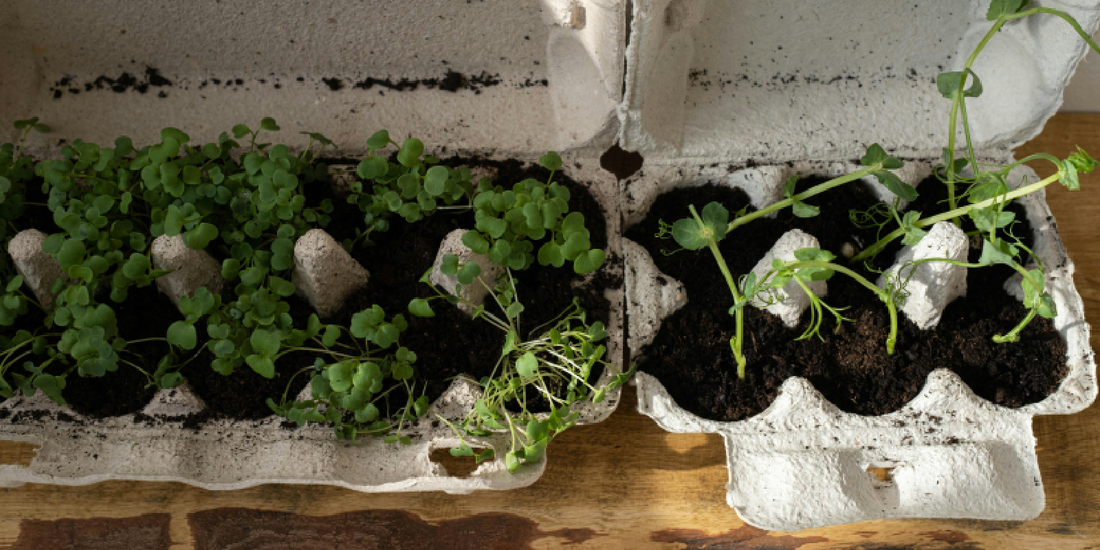
Step 3: Plant Seeds
Scatter seeds evenly across the tray. A dense sowing pattern is ideal for microgreens since they are harvested young. Lightly press seeds into the soil but don’t bury them deeply. Cover with a thin layer of soil or another tray to block out light for the first 2–3 days (this is the "germination blackout phase").
Step 4: Germination Phase
Keep trays stacked or covered in darkness for 2–3 days. Spray lightly with water 1–2 times per day to maintain moisture. Seeds will sprout small roots and begin pushing upwards.
Step 5: Light Exposure
Once seedlings emerge, uncover trays and place them on your shelf under grow lights. The VerdantGlow shelf ensures each tier receives optimal light for strong, healthy growth. Keep lights 6–12 inches above the trays, and run them for 12–16 hours per day.
Step 6: Watering
Microgreens need consistent moisture. Use a spray bottle or bottom watering method (pouring water into the tray beneath so roots absorb moisture). Avoid overwatering, which can cause mold or fungal growth.
Step 7: Harvesting
Microgreens are ready to harvest when they are 2–3 inches tall, usually within 7–14 days. Use clean scissors to snip stems just above the soil line. Rinse gently and pat dry before storing in the refrigerator.
Maximizing Growth with Shelf & Light Management
A shelf system like VerdantGlow gives you flexibility to grow multiple varieties at once. For example:
- Top tiers: Fast-growing radish and arugula.
- Middle tiers: Broccoli and sunflower microgreens.
- Bottom tiers: Pea shoots, which may need more vertical room.
Tips to optimize growth:
- Rotate trays every few days to ensure even exposure.
- Use fans for air circulation to reduce mold risk.
- Keep temperatures between 65–75°F for best germination.
- Clean trays after each harvest to prevent disease.
Nutritional Benefits of Microgreens
Microgreens are more than just garnish. They’re a powerful addition to any diet:
- Rich in vitamins: Vitamin A, C, E, and K are abundant.
- Minerals: Calcium, magnesium, iron, and potassium.
- Antioxidants: Reduce inflammation and support cellular health.
- High in fiber: Promotes digestive health.
- Concentrated nutrition: Higher nutrient density per gram than mature vegetables.
Delicious Ways to Use Microgreens
Microgreens can elevate everyday meals with freshness and flavor. Try them in:
- Salads: Mix radish and arugula microgreens for a peppery kick.
- Sandwiches & wraps: Add sunflower or pea shoots for crunch.
- Smoothies: Blend broccoli microgreens for a nutrient boost.
- Soups: Garnish hot dishes with a fresh handful.
- Eggs & omelets: Sprinkle microgreens for color and flavor.
Why Choose the amoyls VerdantGlow Shelf for Microgreens?
The VerdantGlow S-Shaped 8-Tier Plant Shelf with Grow Lights is designed to make indoor gardening seamless. For microgreens, it offers:
- Ample growing space: Multiple trays across eight tiers.
- Consistent light: Built-in LEDs eliminate the need for extra lamps.
- Aesthetic value: Adds greenery and style to your living room, kitchen, or office.
- Efficiency: Grow multiple harvests per month without worrying about outdoor conditions.
By integrating microgreens into your routine with a shelf system, you not only enjoy fresh produce but also bring a vibrant, green focal point into your home.
Conclusion
Growing microgreens indoors with a shelf is one of the easiest and most effective ways to ensure year-round access to fresh, nutrient-rich food. With just a few trays, seeds, and a dedicated setup like the amoyls VerdantGlow S-Shaped 8-Tier Plant Shelf with Grow Lights, you can harvest superfoods in under two weeks, all within the comfort of your home.
Whether you’re a beginner looking to start your first indoor garden or a seasoned plant enthusiast seeking efficient vertical growing solutions, microgreens are the perfect crop. Start small, experiment with varieties, and soon you’ll have a continuous supply of greens that not only taste amazing but also support your health and well-being.